5 Flower Prep Tips
I’m sharing with you my top 5 flower prep tips that I use to help the flowers I work with last as long as possible. Whether you subscribe to our Rainier Bouquet and make your own arrangements from it, or are foraging from your backyard, these tips will help you make sure you get the most life out of your flowers.
Step 1: Clean your vase
I know this may seem obvious, but I know from my own past experience that it can be tempting to skip this step if your vase looks clean. Maybe you had some peonies sitting in water for a day or two and now you are putting different flowers in the same vase. It’s an easy mistake to just dump the water and refill, but failing to clean the vase with soap and warm water allows bacteria to continue growing from any previous contents and will shorten the lifespan of any new flowers you put in the vase. This is also an important step if your vase is dusty as dust could clog the stems and prevent good hydration.

Step 2: Fill your vase with flower food and water
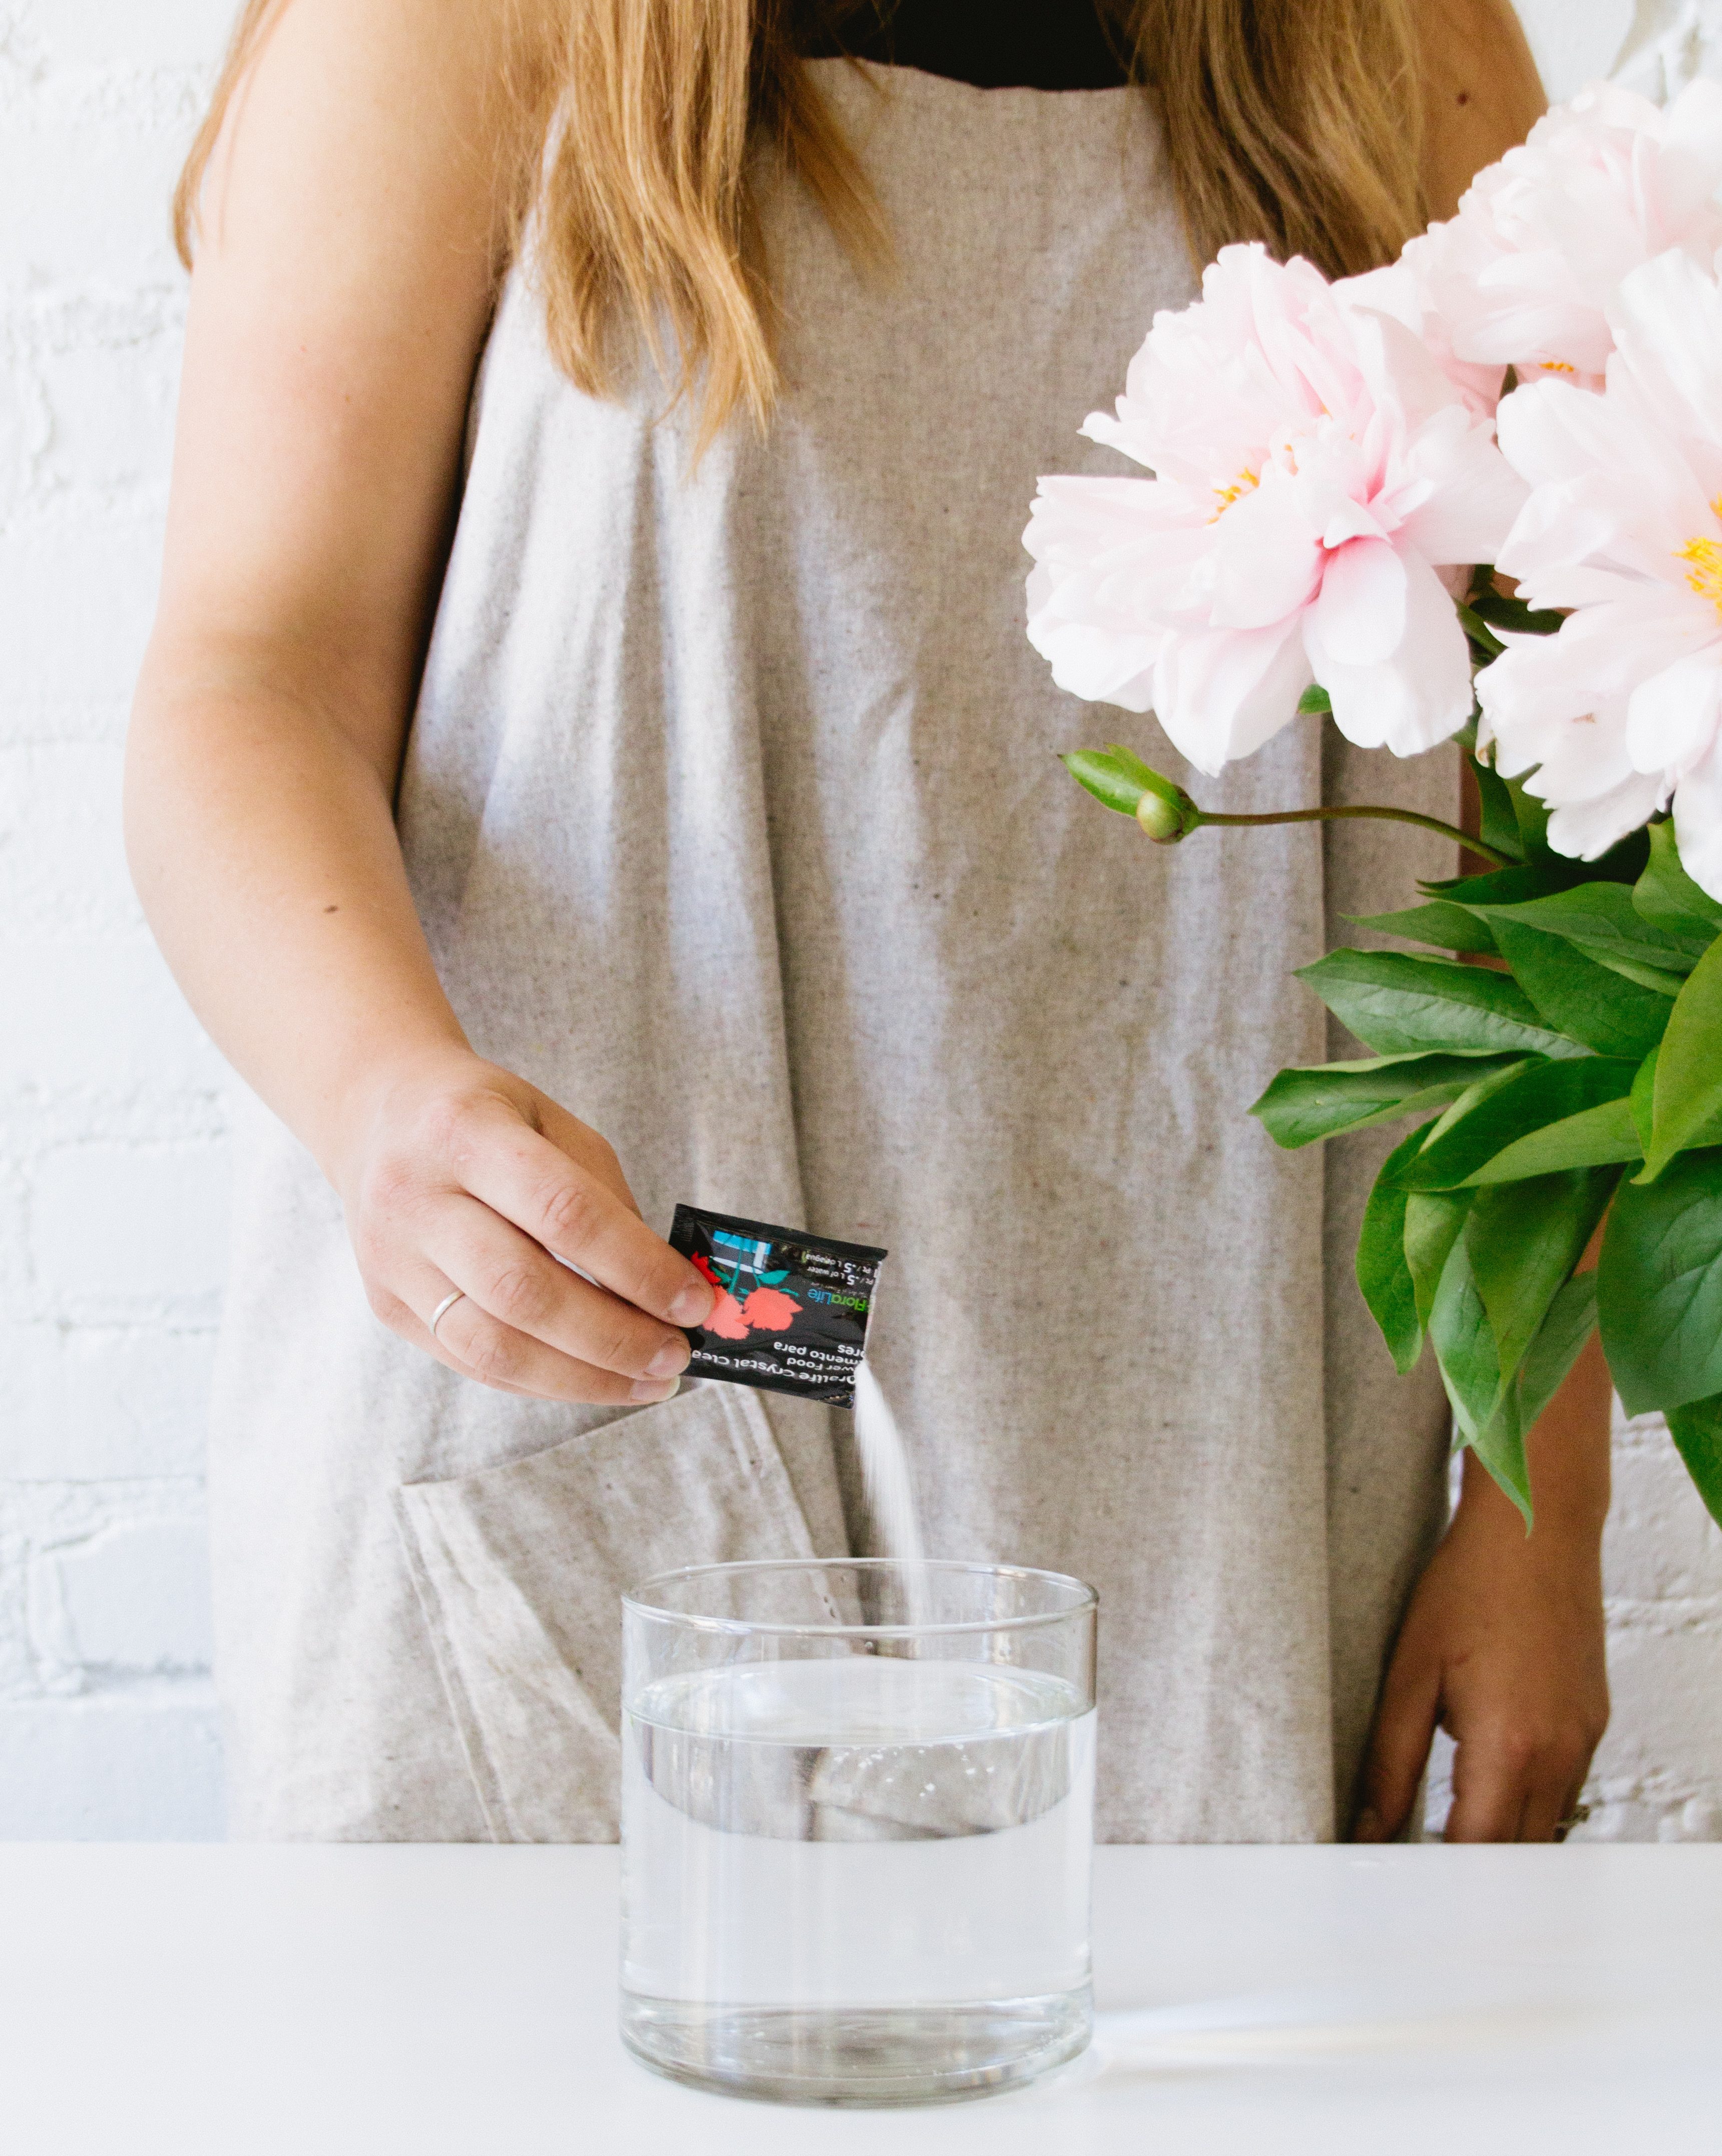
You know those little packets of flower food that often come with flowers? (We deliver them with our Rainier Bouquets and you can also order a tub of flower food on the inter webs.) Well, they’re actually helpful in prolonging the life of your flowers! Mix a packet, or appropriate amount according to tub instructions, into your vase of cool water. (By the way, we don’t recommend putting your flowers in warm water unless you’re trying to get them to open more quickly.)

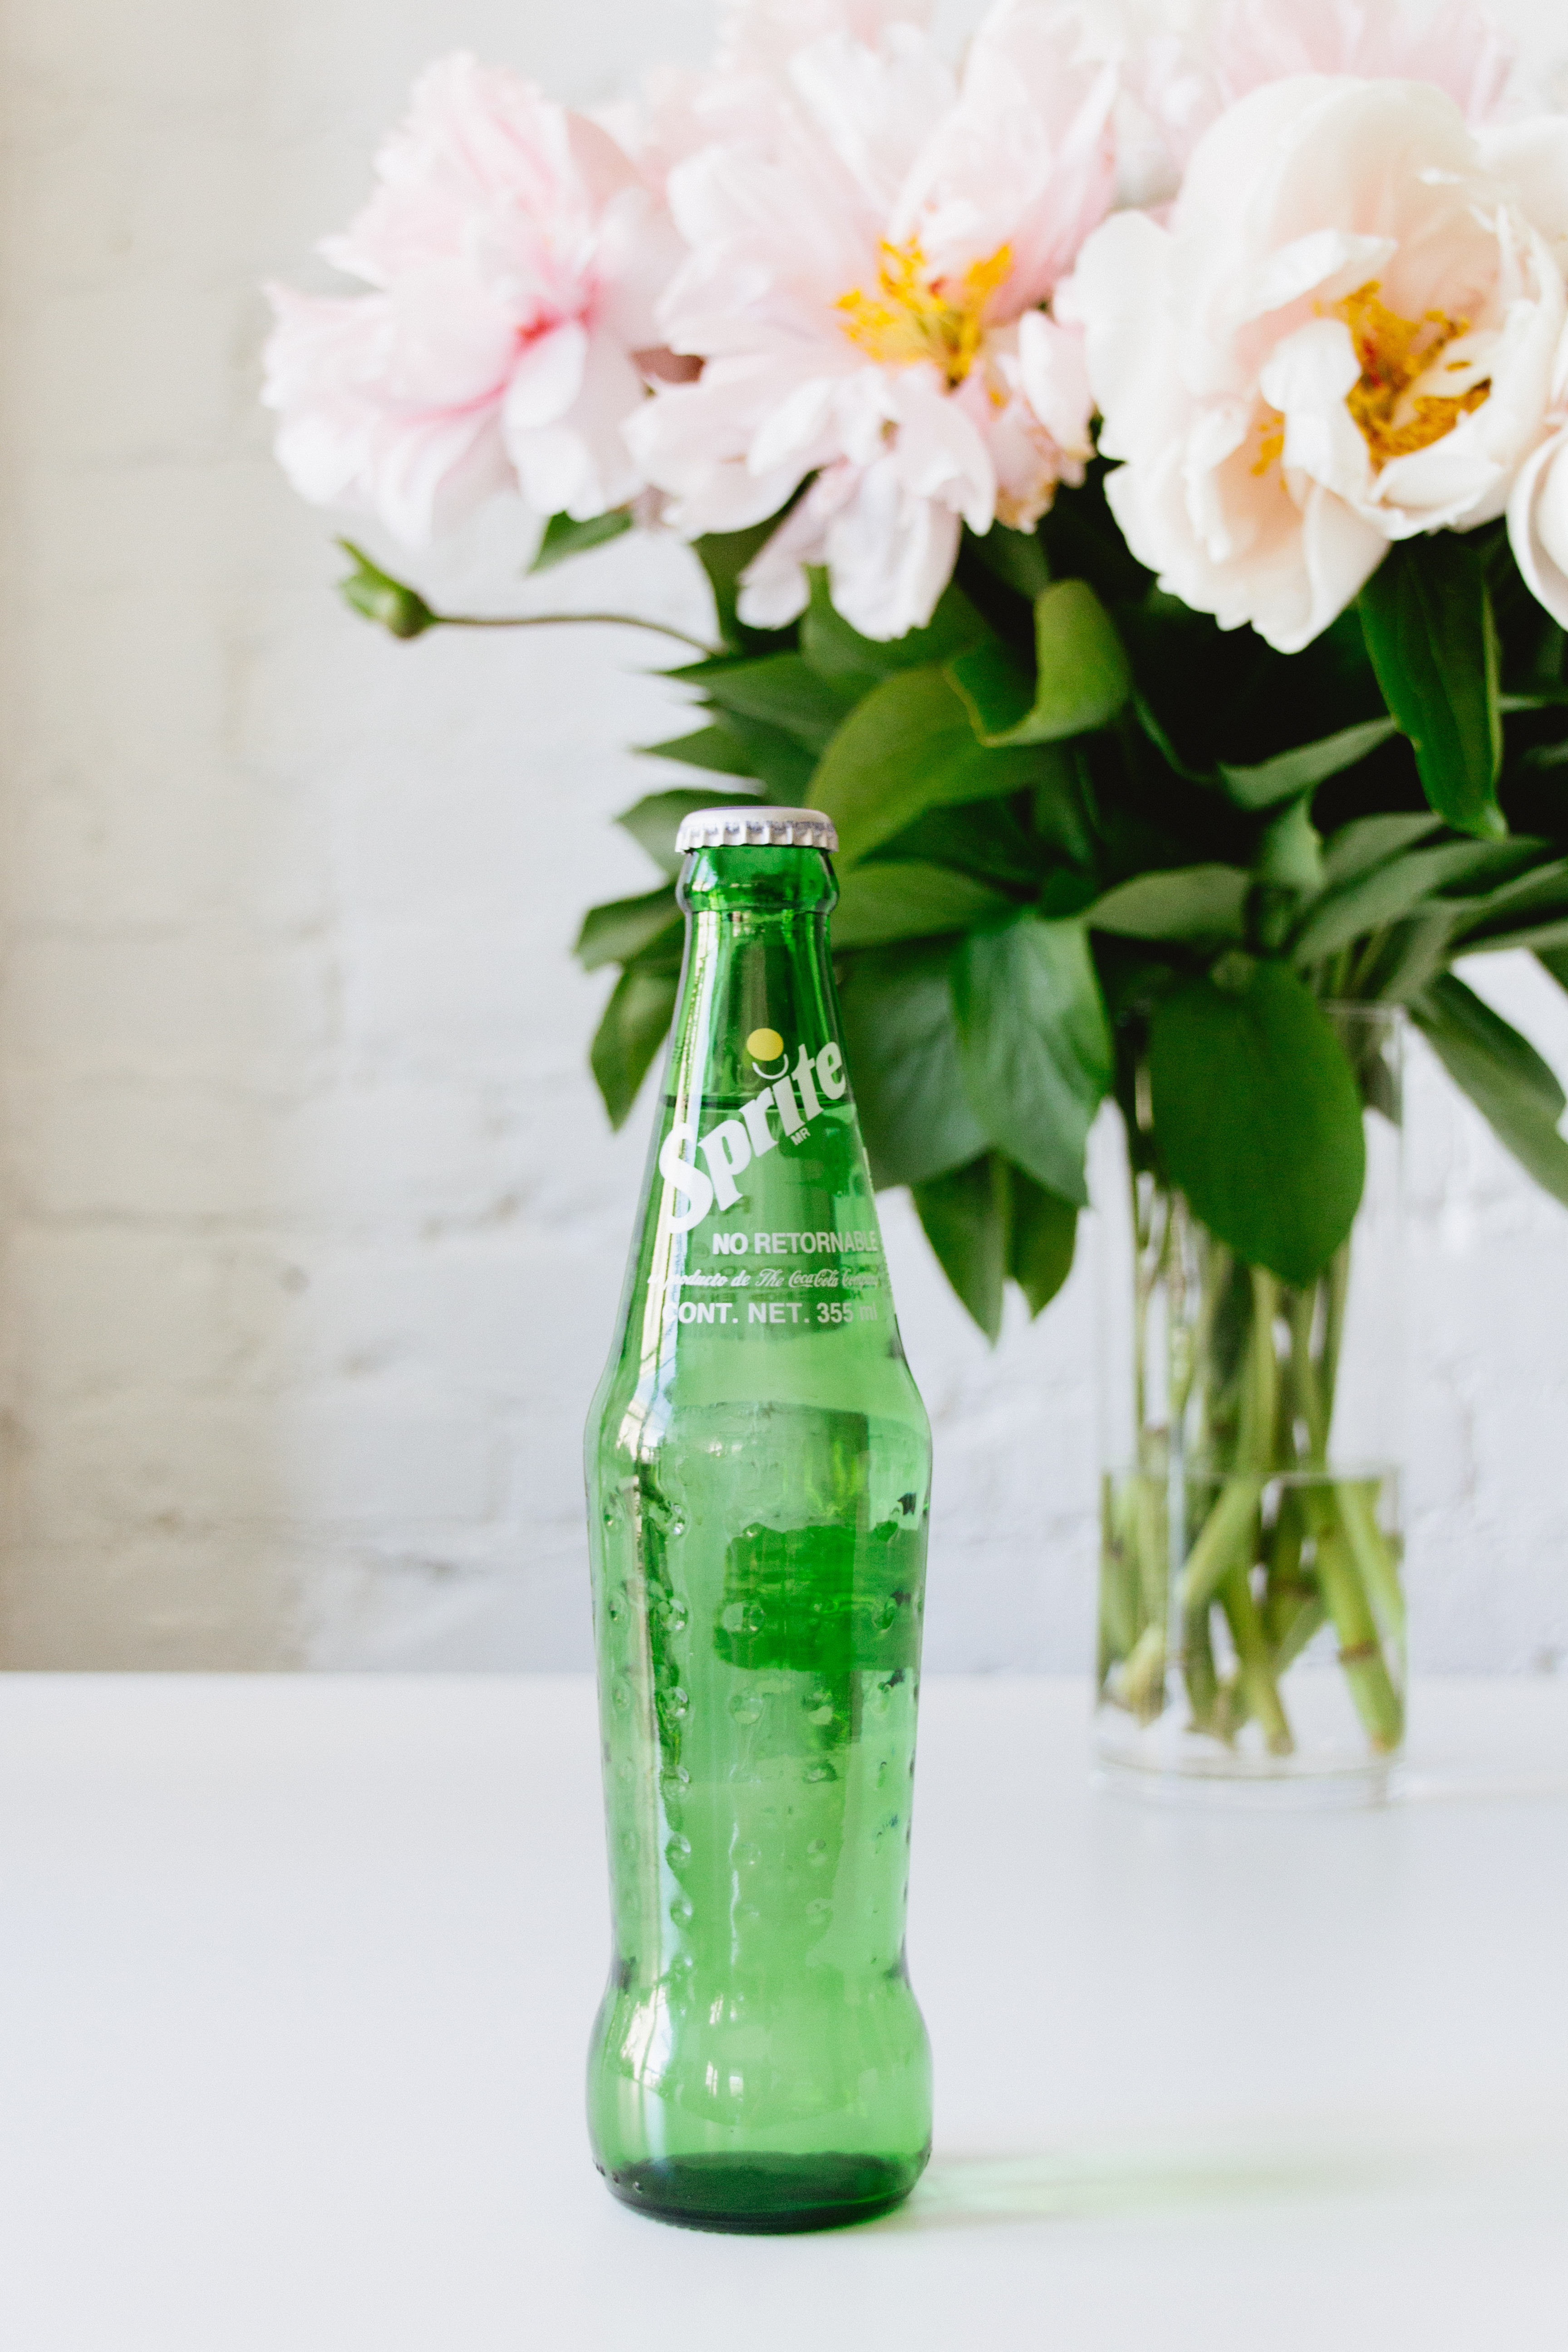
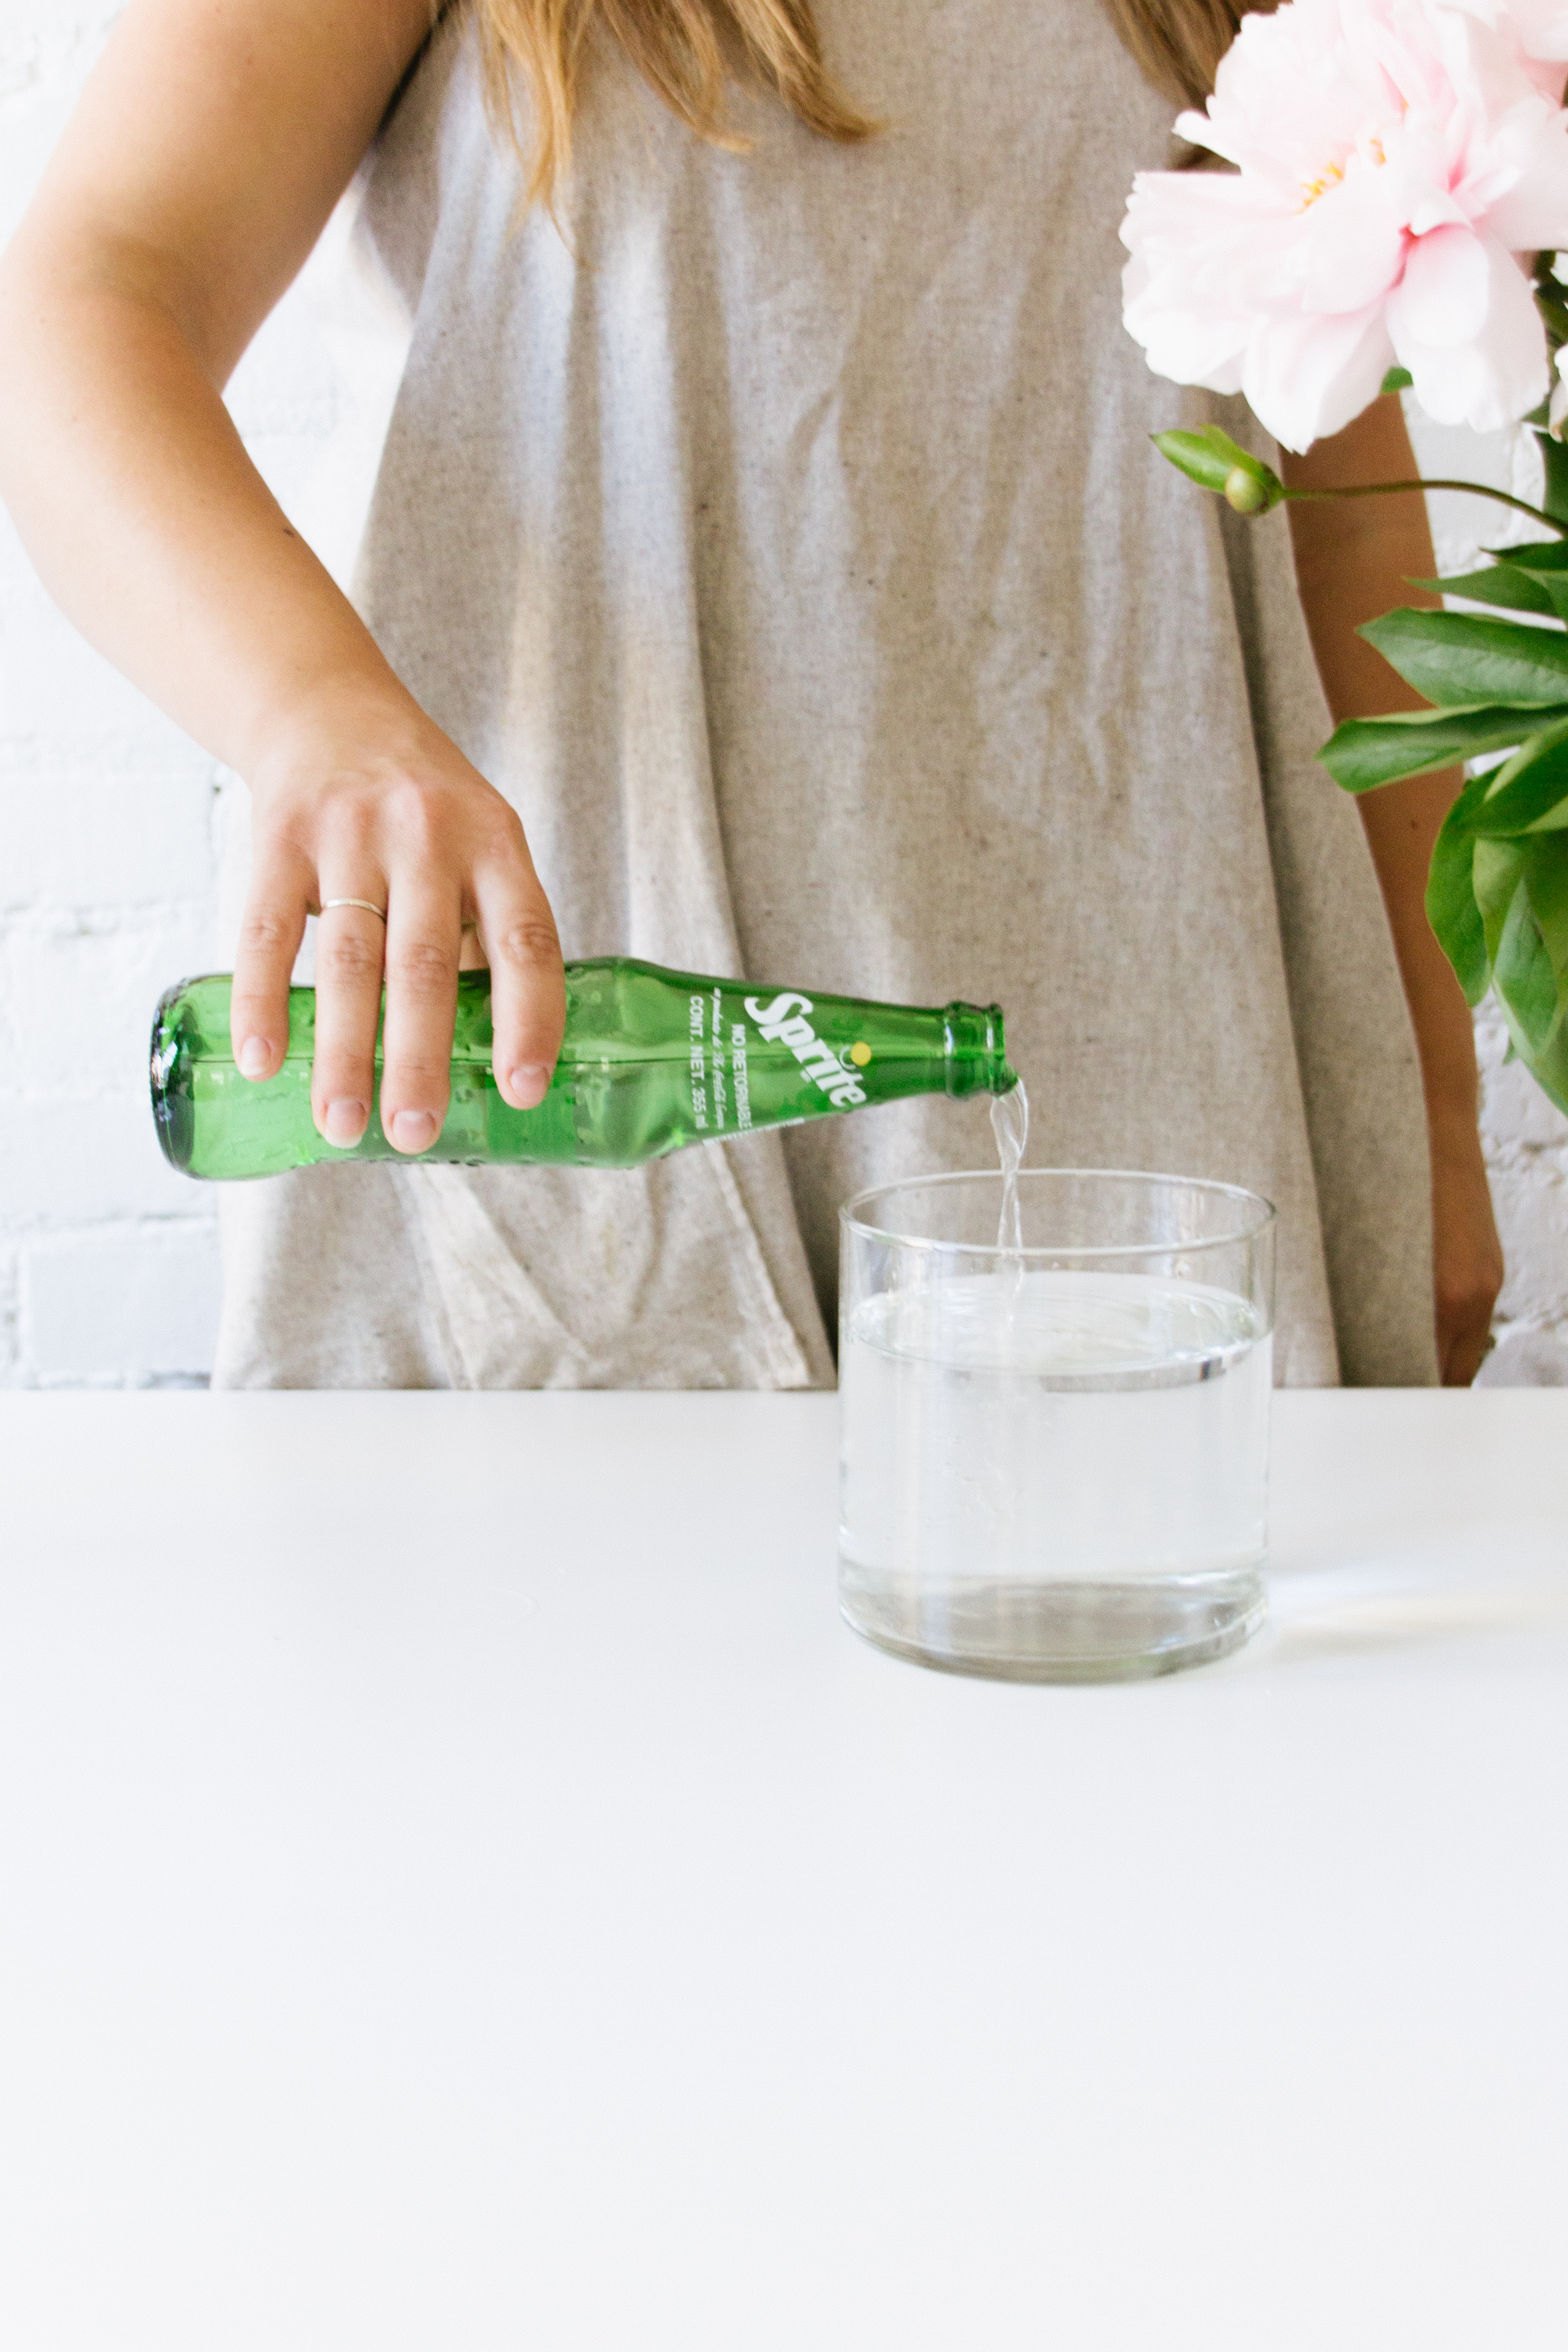
Flower Hack: If you don’t have flower food, use Sprite!
I used to use this trick all the time before I became a full-time floral designer and always had flower food on hand and I still swear by it. Create about a 1:2 ratio of sprite and water and this will feed your blooms with a combination of sugar and citrus that they really seem to love.
Step 3: Remove foliage from all stems that will be below water level
Leaves that are submerged in water promote lots of bacteria growth that will ultimately shorten the life of everything in the vase. Always remove all foliage from both flower and greenery stems below water level.

Step 4: Re-cut all stems at an angle
I recommend cutting each stem right before completing the Step 5 and placing it directly in water. If you plan to create an arrangement, use a bucket or separate vase to store prepped and cut stems until you’re ready to use them. Some flowers (like Queen Anne’s Lace) form a scab of sorts over the cut stem preventing it from absorbing water well and placing the flowers directly in water after cutting them prevents this from happening.
The reason for cutting the stems at an angle is that it prevents the flat base of a stem from sitting directly on the flat base of a vase with wouldn’t allow any surface area for water absorption. This angle cut ensures the maximum absorption area for your stems to hydrate themselves. If you notice flowers wilting, it can sometimes help to recut them, repeat Step 5 and return them to the vase.

Step 5: Quick Dip your stems
Quick Dip is available for purchase online is especially helpful for stems that need extra help with hydration (like hydrangea) but I do it to all my flowers. This product helps promote the flow of water through your stems and clears blockages that may occur. It’s easy to use — just pour about an inch of solution in a small container (I use a glass votive) and dip your stem ends in it for one second before placing them in water.

Making sure to prep your flowers is key to helping them last as long as possible. Always remember to keep your water topped off and replace with fresh, clean water every day or every other day if possible!

Photos by: Lauren Essl and Sarah Abare
Photos edited by: Meghan Klein


